A quick howto, since I recently had to do this. To create a digital photo for use with a passport you'll need the following:
- digital camera
- computer
- software (I used Gimp though photoshop may work too)
- tripod/or person to take picture
- white background
Heres a link the department of state that describes how to setup your place to take a picture. Here's another link from Singapore that describes what a "good" picture is (I'm assumming American standards are similar). (It appears that "good" means not smiling or having some "SPECIMEN" text in front of your face, take your pick) Probably the most important thing is the white background, so find some person who's renting an apartment and they are sure to have nice ugly white walls to take a picture against (mine worked perfectly). (I didn't use side flashes as my camera seemed to take a good picture without shadows with the builtin flash).
Once you have everything set up to take a picture, make a really monotonous face and snap it. When you've got one that meets the standards (or has the text "SPECIMEN") you are ready to proceed to your nearest computer.
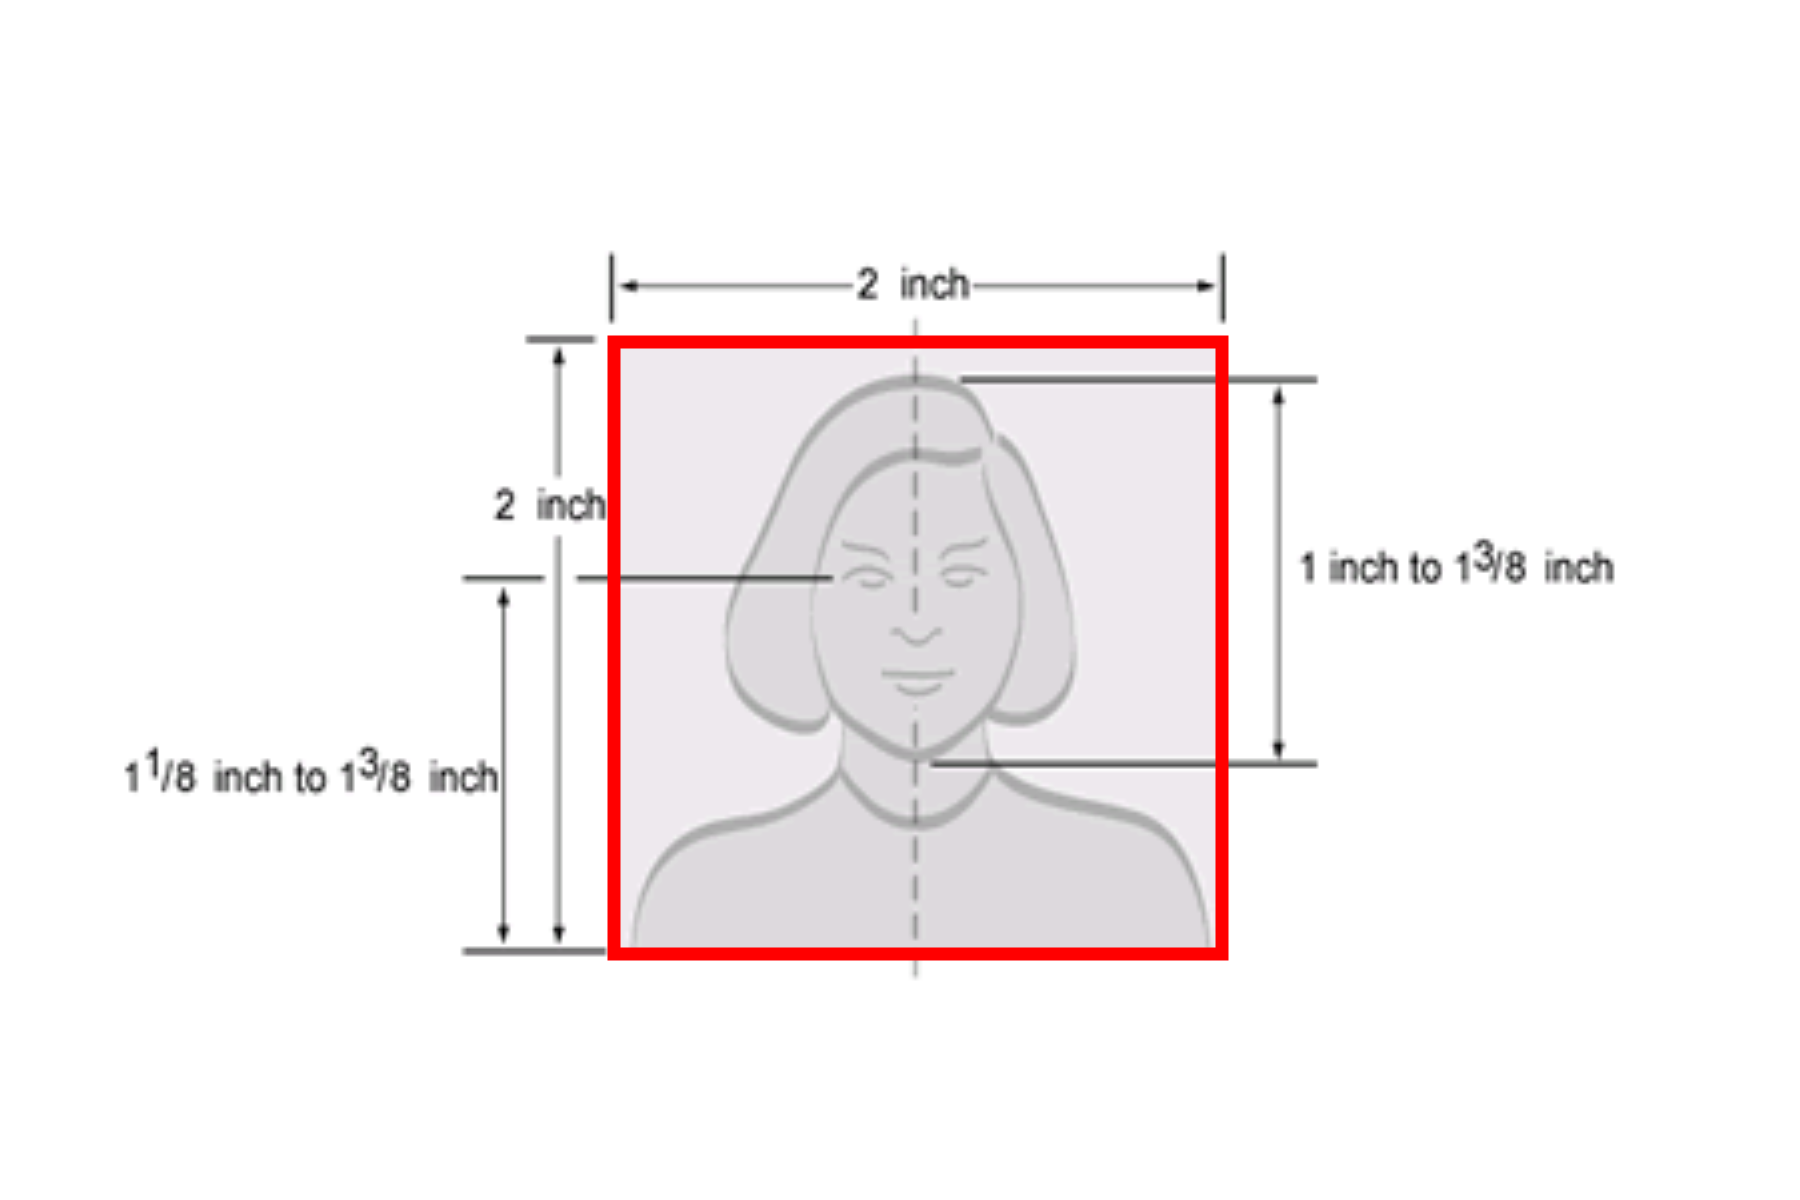
Load up the passport4x6.png (below, right click->save as..., or drag the link over the gimp tool selector) in your photo manipulation software. The important thing is to keep the size as is (1200x1600), because the red box in the middle will be 2 inches (which is the size you need your pictures to be) if you develop this at 4x6 (no cropping).

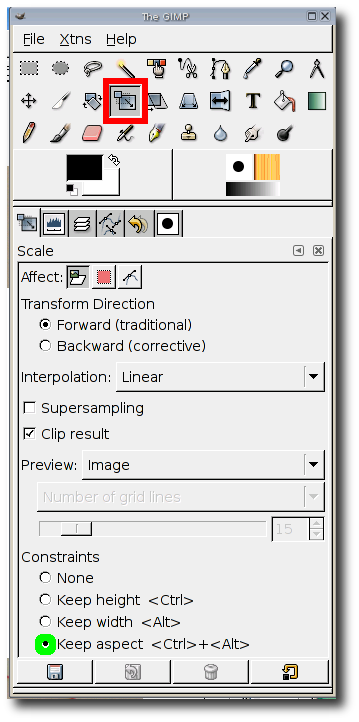
Go to the layers dialog and duplicate this layer. Now drag your mugshot into the picture. (It will probably be the top layer.) Move your photo so it is between the red box images (the middle layer) using layer manipulation. (Otherwise when you scale your photo you won't be able to see the red box). Activate the layer with your photo in it (should be in the middle layer). Activate the scale tool (red box in below). Double click it to bring up the scale settings. Make sure that the "Keep aspect" radio button (green circle) is selected. Now scale your face you that it is the same size as the face in the red box.

You are now basically done, you can center the picture if you want. Remove the top layer (red box) and save your image as a jpg. Take to a photo kiosk and print two at 4x6. Cut out 2 inch square around your face, and you are done!